Create Kemi Character
Step 1: Access 'The Workshop'
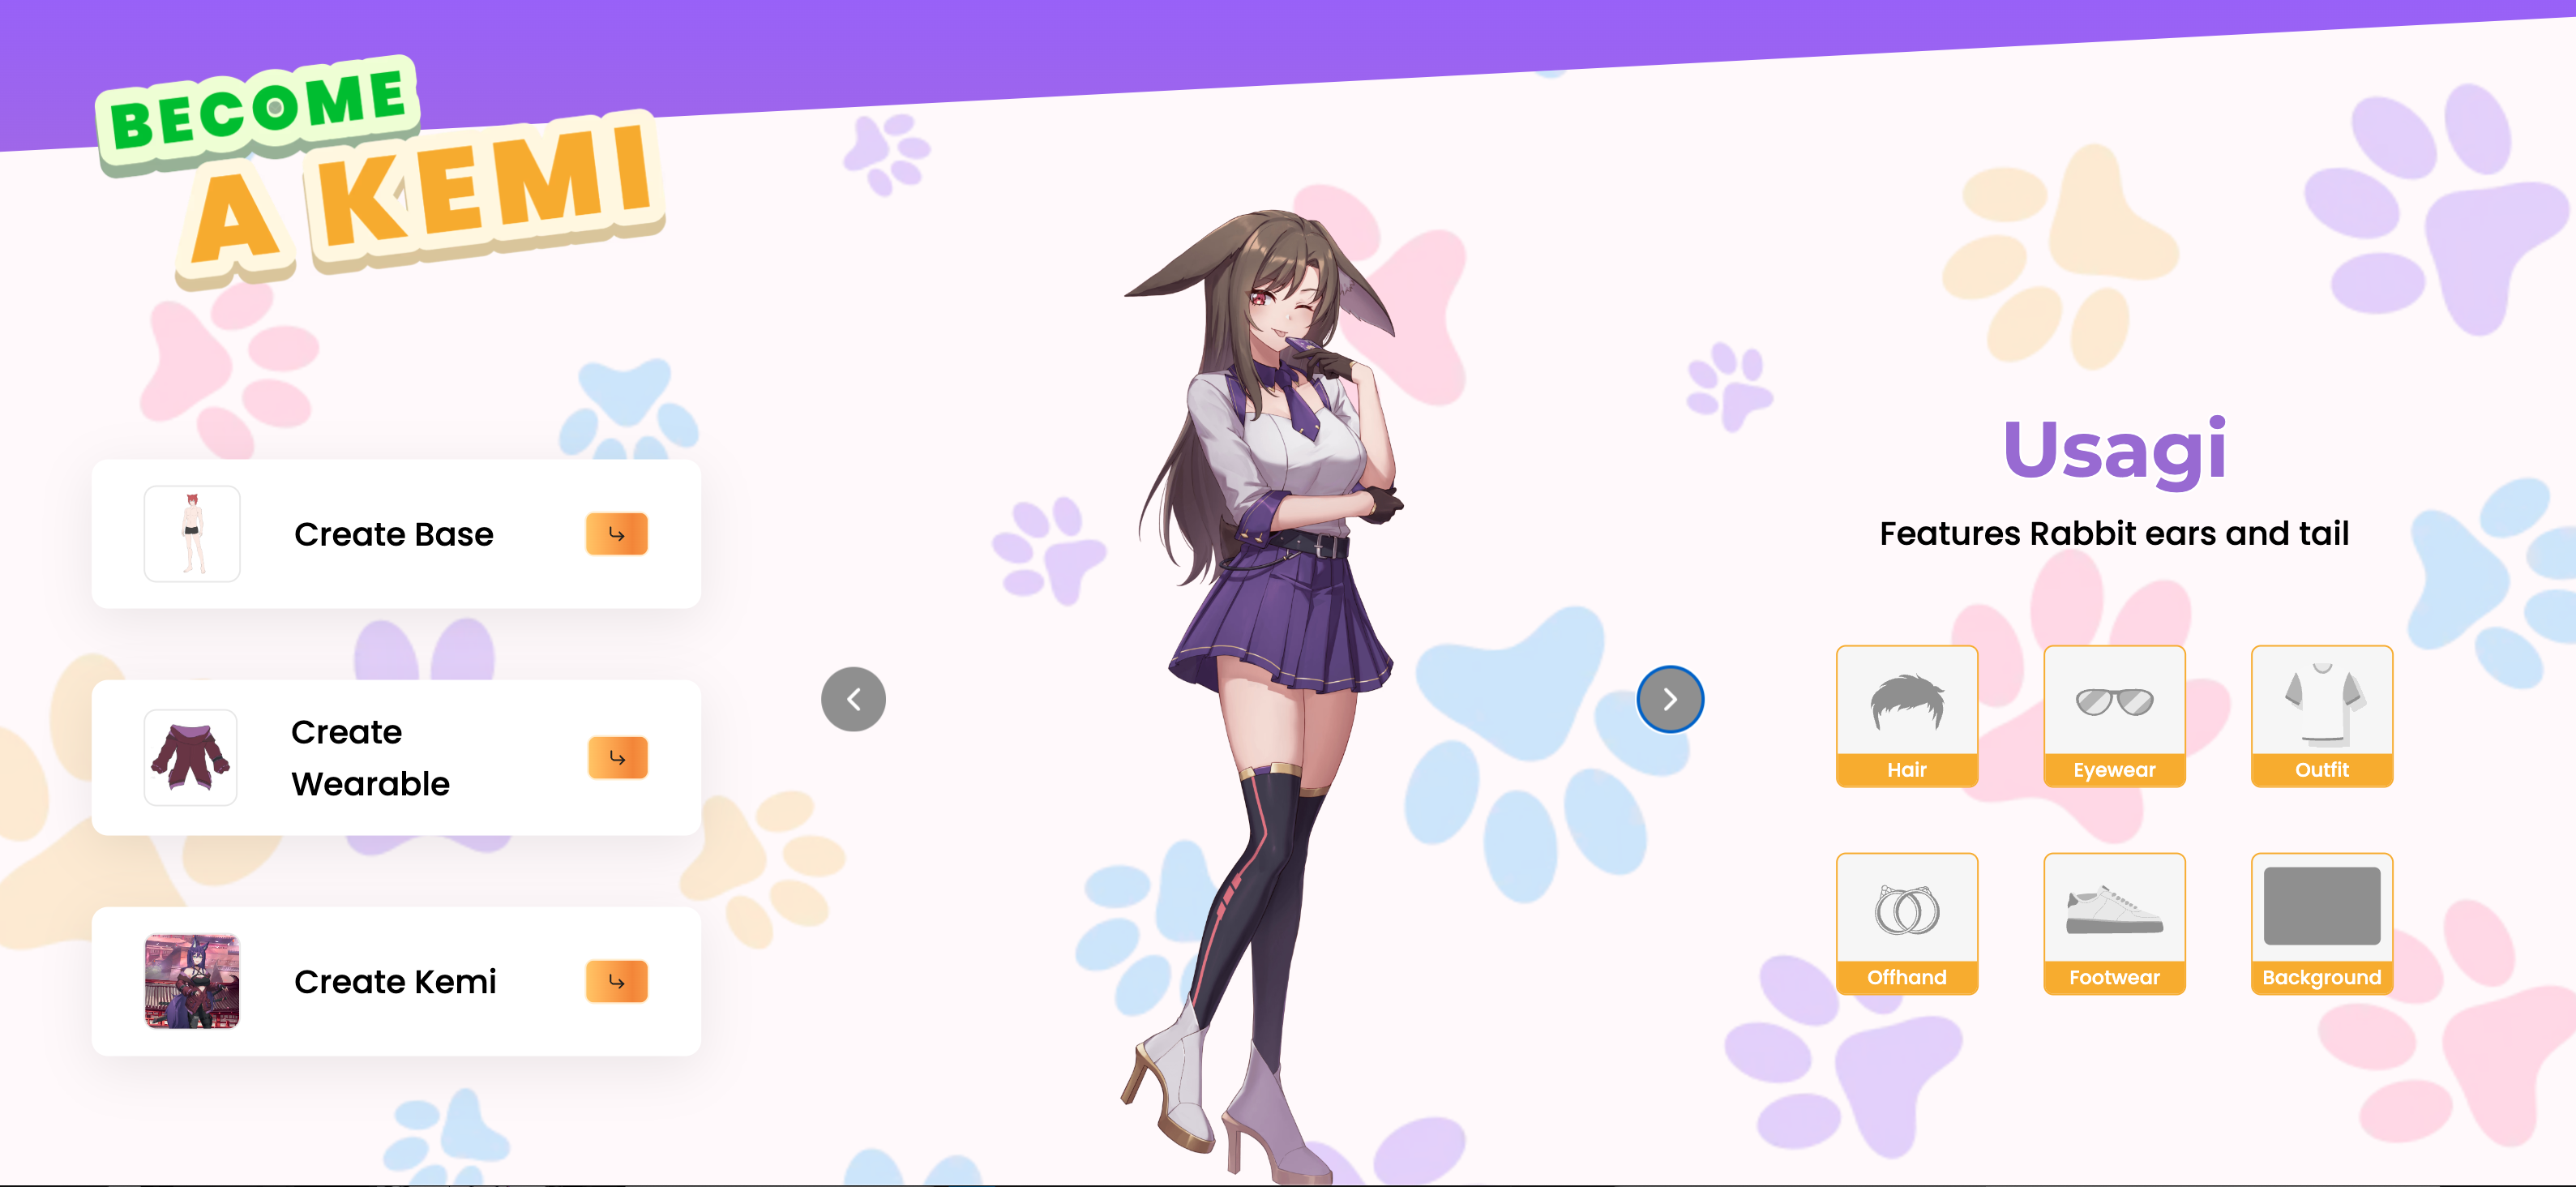
From the Main Menu, navigate to the KEMI tab and select "The Workshop."
Step 2: Choose Your Base Kemi
Inside 'The Workshop,' you can select any minted Kemis to start the creation process. Note that you can change your Base Kemi on the customization page.
Step 3: Confirm Your Base Kemi
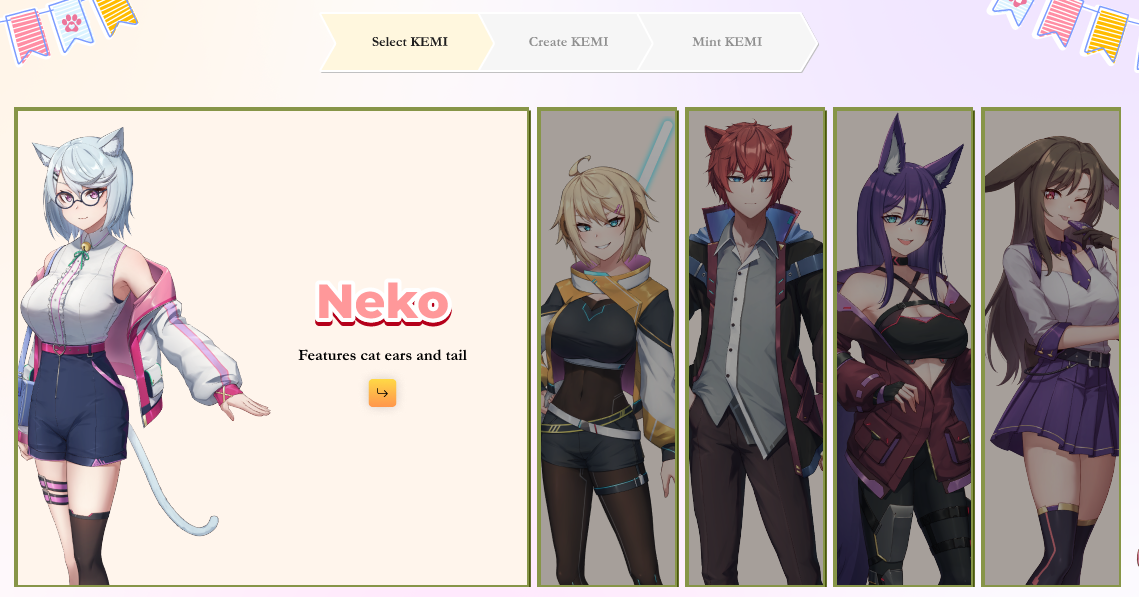
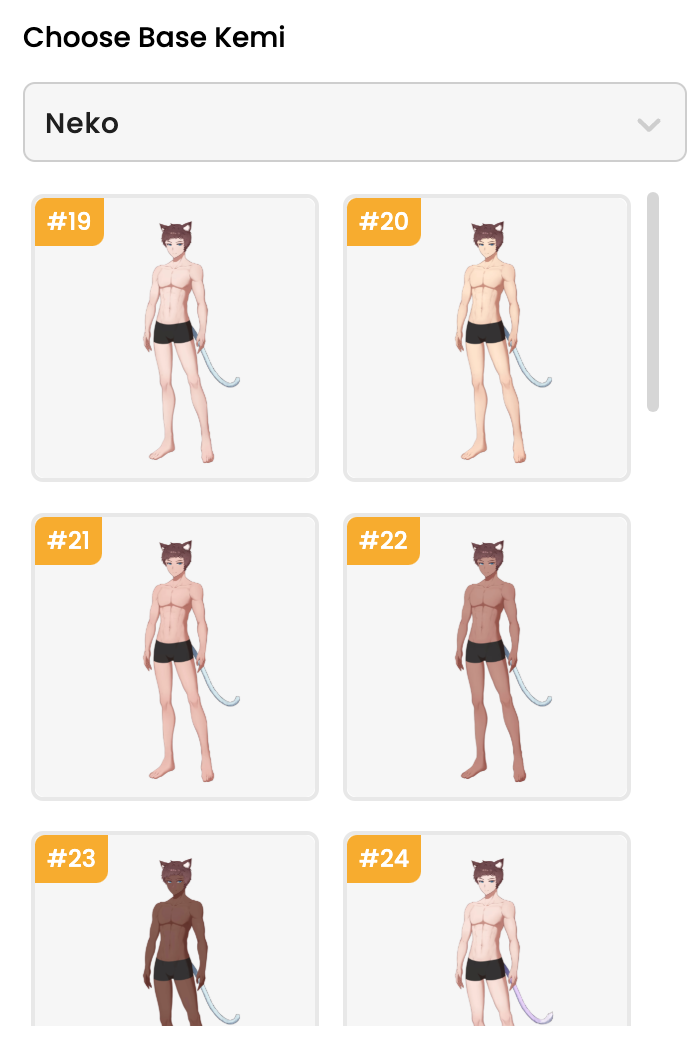
Start by confirming which Base Kemi you would like to use. Select the card representing your preferred Base Kemi, and press 'confirm.' If you want to change the race, use the drop-down menu under "Base Kemi" to select your preferred Kemi type.
Step 4: Character Name (Optional)
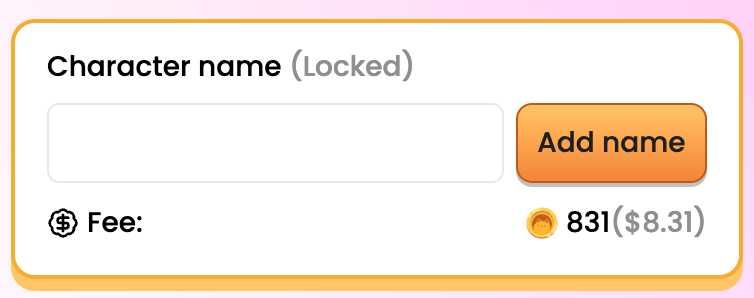
You have the option to provide a name for your character. If you choose to name your character, input your desired Name and select "Add Name." Confirm any associated fees for naming your character. You can later change or remove the Name using the "Remove Name" button.
Step 5: Customization
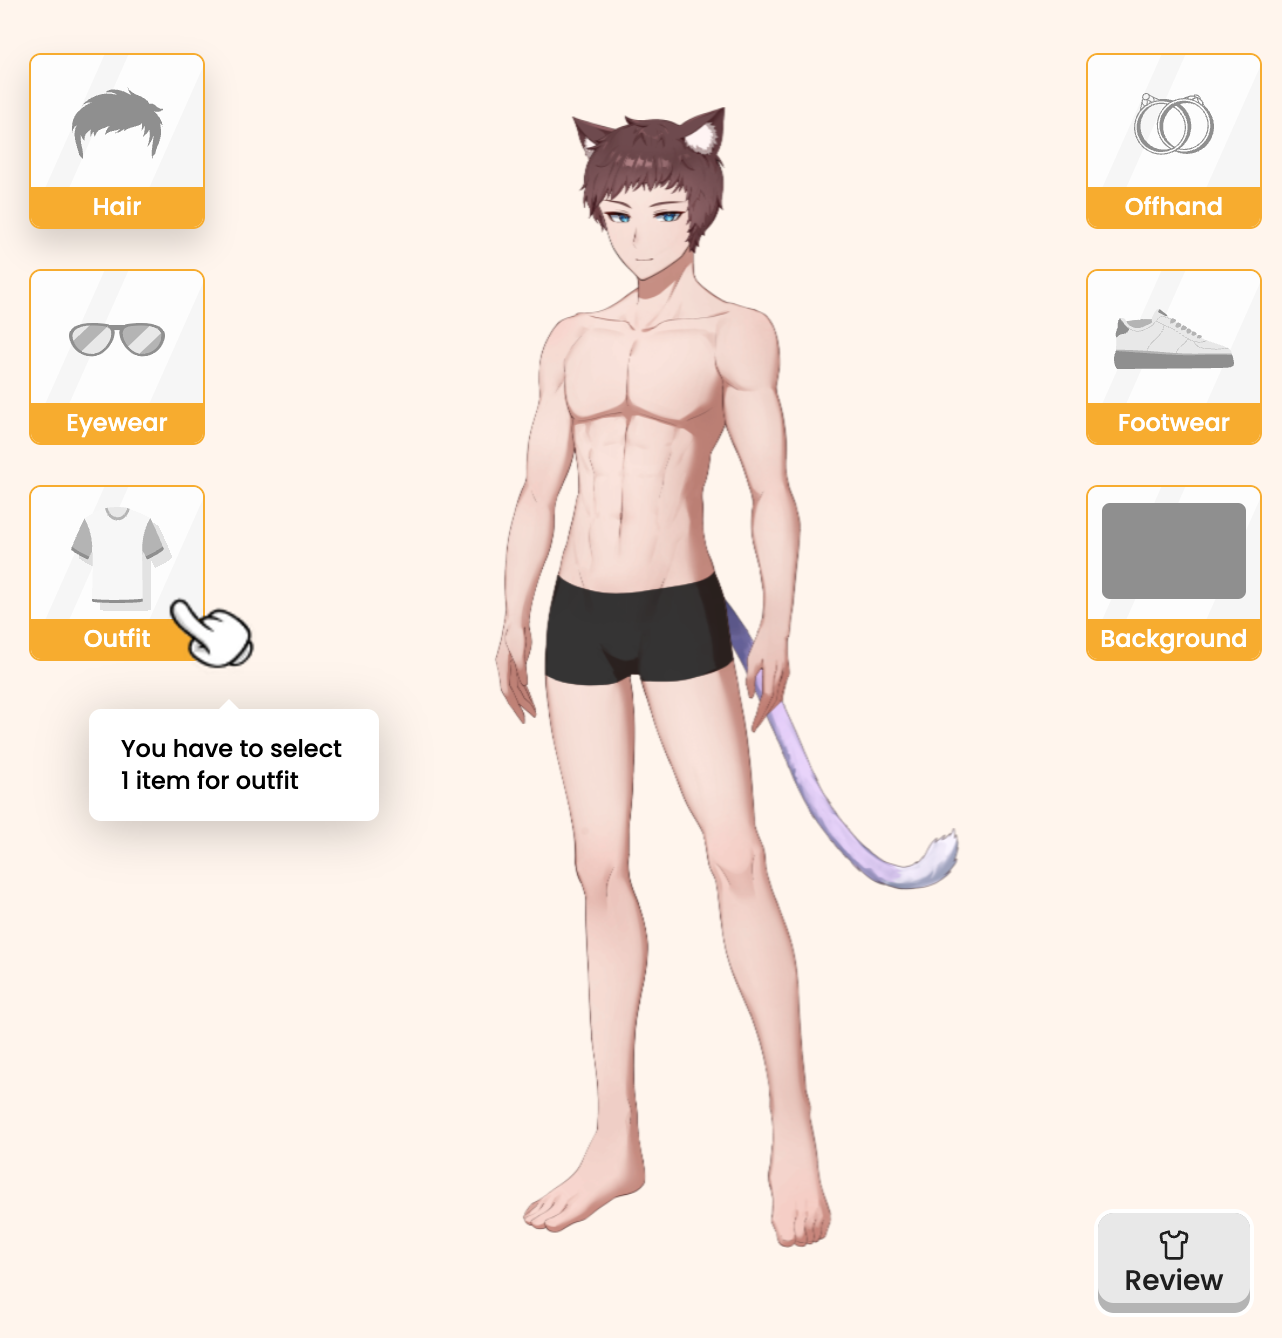
Under the Main Customization UI, you'll have seven options: Headgear, Hair, Eyewear, Outfit, Off-hand, Footwear, and Background. Select the items you possess to customize your Base Kemi. Note that having an Outfit equipped is mandatory to proceed with the minting process.
Step 6: Review Fees and Mint Your Kemi
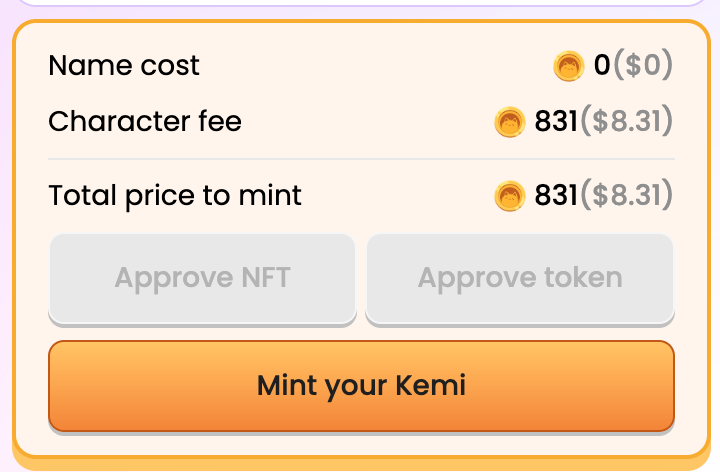
Review the total fees once you've selected all the items you want to equip to your Base Kemi. You can now move on to "Mint your Kemi."
Step 7: Select Display Preferences
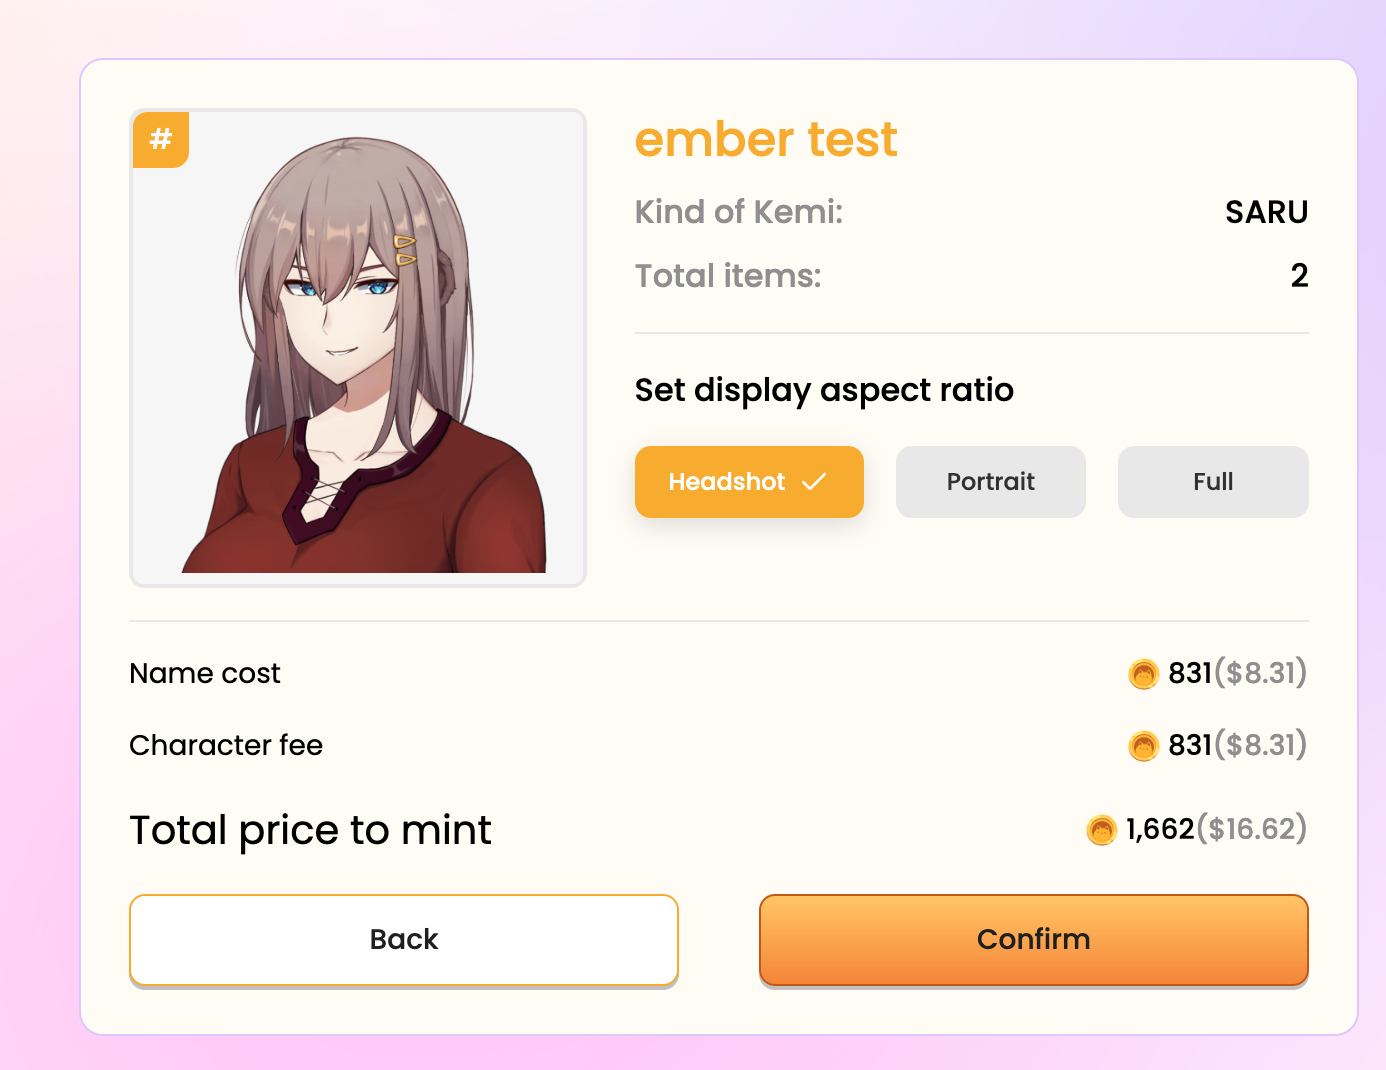
Select your preferred display from a Headshot View, Portrait, or Full Body view.
Step 8: Congratulations!
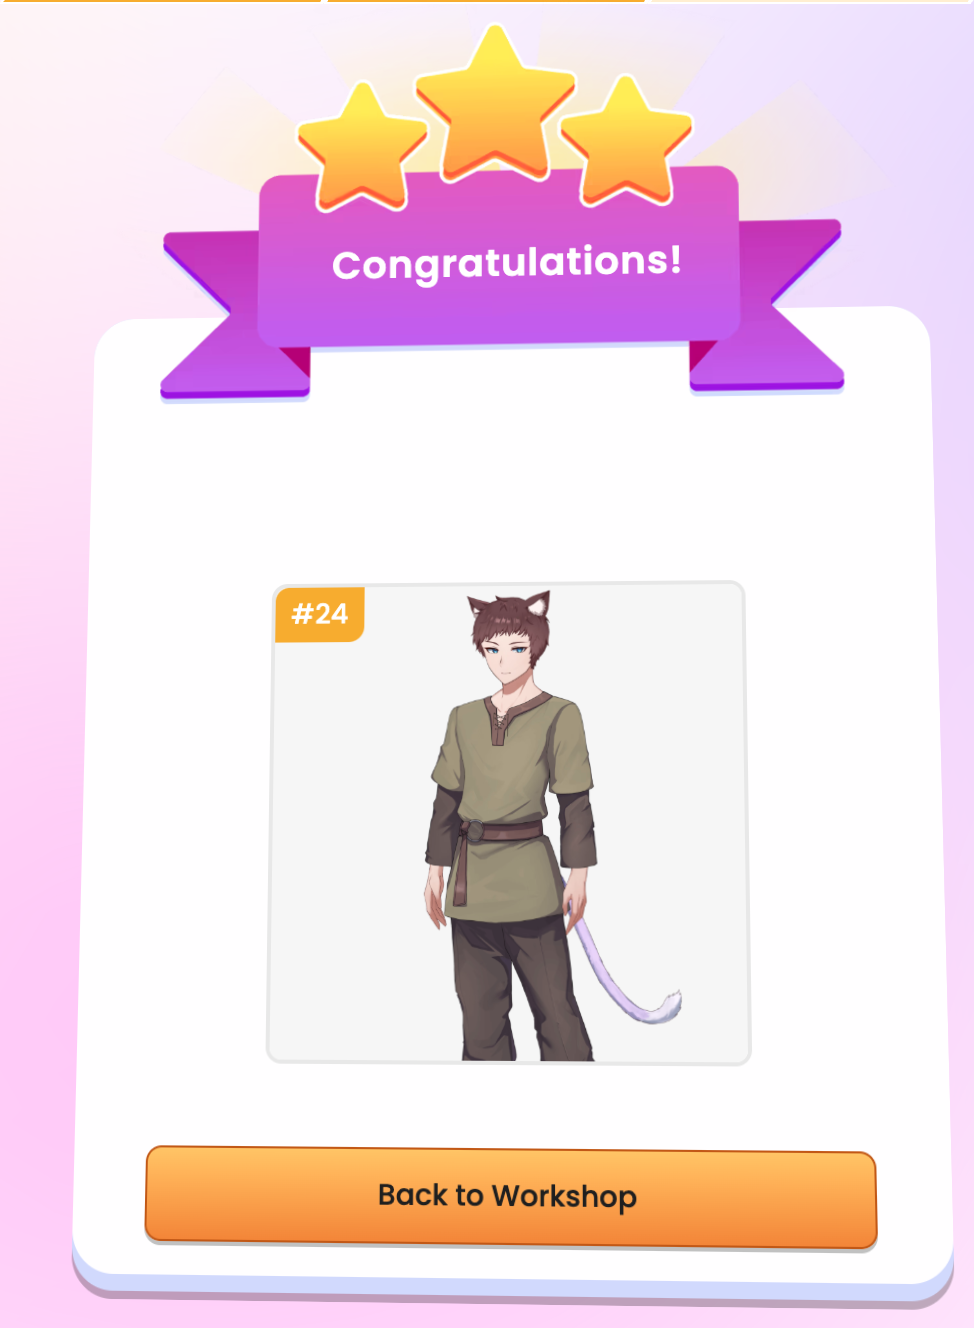
Congratulations, you've successfully created your very first Kemi Character! You can view your creation under "My Assets," located at the top right of this webpage. Your customized Kemi is ready to explore the world in style and make its mark!